Workshop Guide
A step-by-step guide for running a hands-on workshop with LabLink, from setup to cleanup.
Prerequisites
This guide assumes you have already deployed LabLink and configured it for your software.
Before the Workshop
1. Create VMs
Spin up VMs ahead of time so they're ready when participants arrive. VMs typically take 5–7 minutes to provision.
- Open the allocator's Admin URL (printed by
lablink statusor shown in the deployment output) and append/admin - Log in with your admin credentials
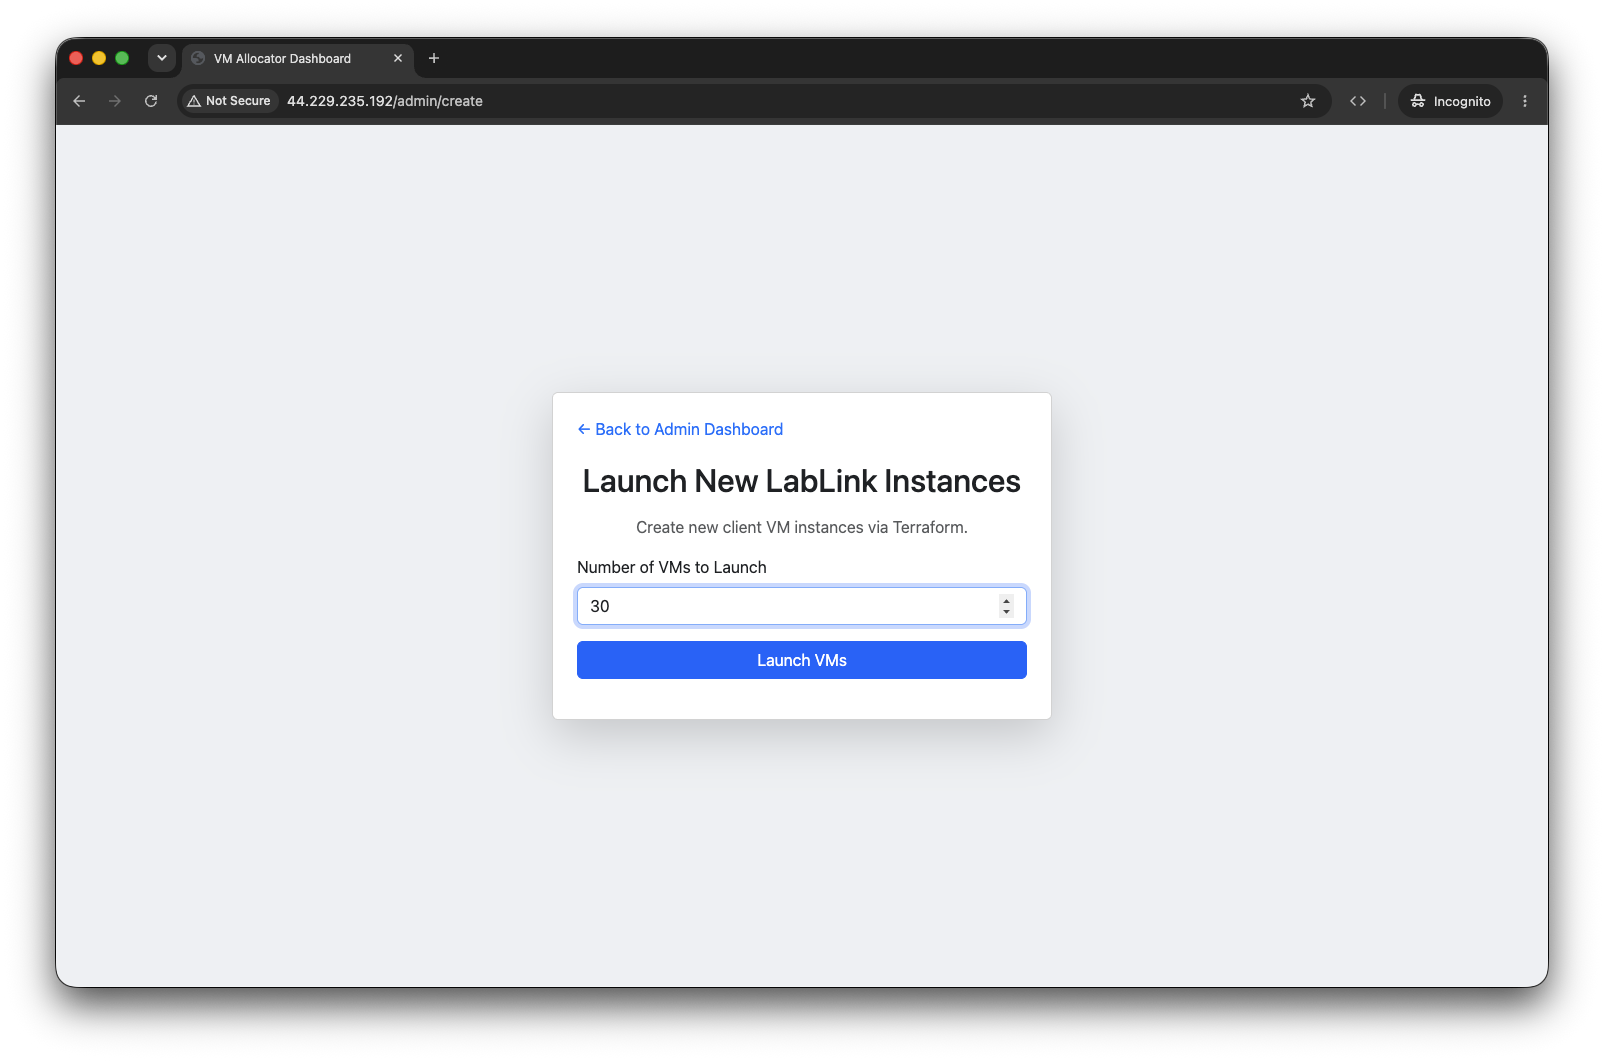
- Click Create New VM Instance
- Enter the number of VMs to launch (one per participant, plus a few extras)
- Click Launch VMs
Tip
Create a few extra VMs beyond your expected headcount. You can always destroy unused ones later, but creating more mid-session takes 5 minutes.
2. Verify VMs Are Healthy
Wait for all VMs to show "running" status in the dashboard before the workshop begins.
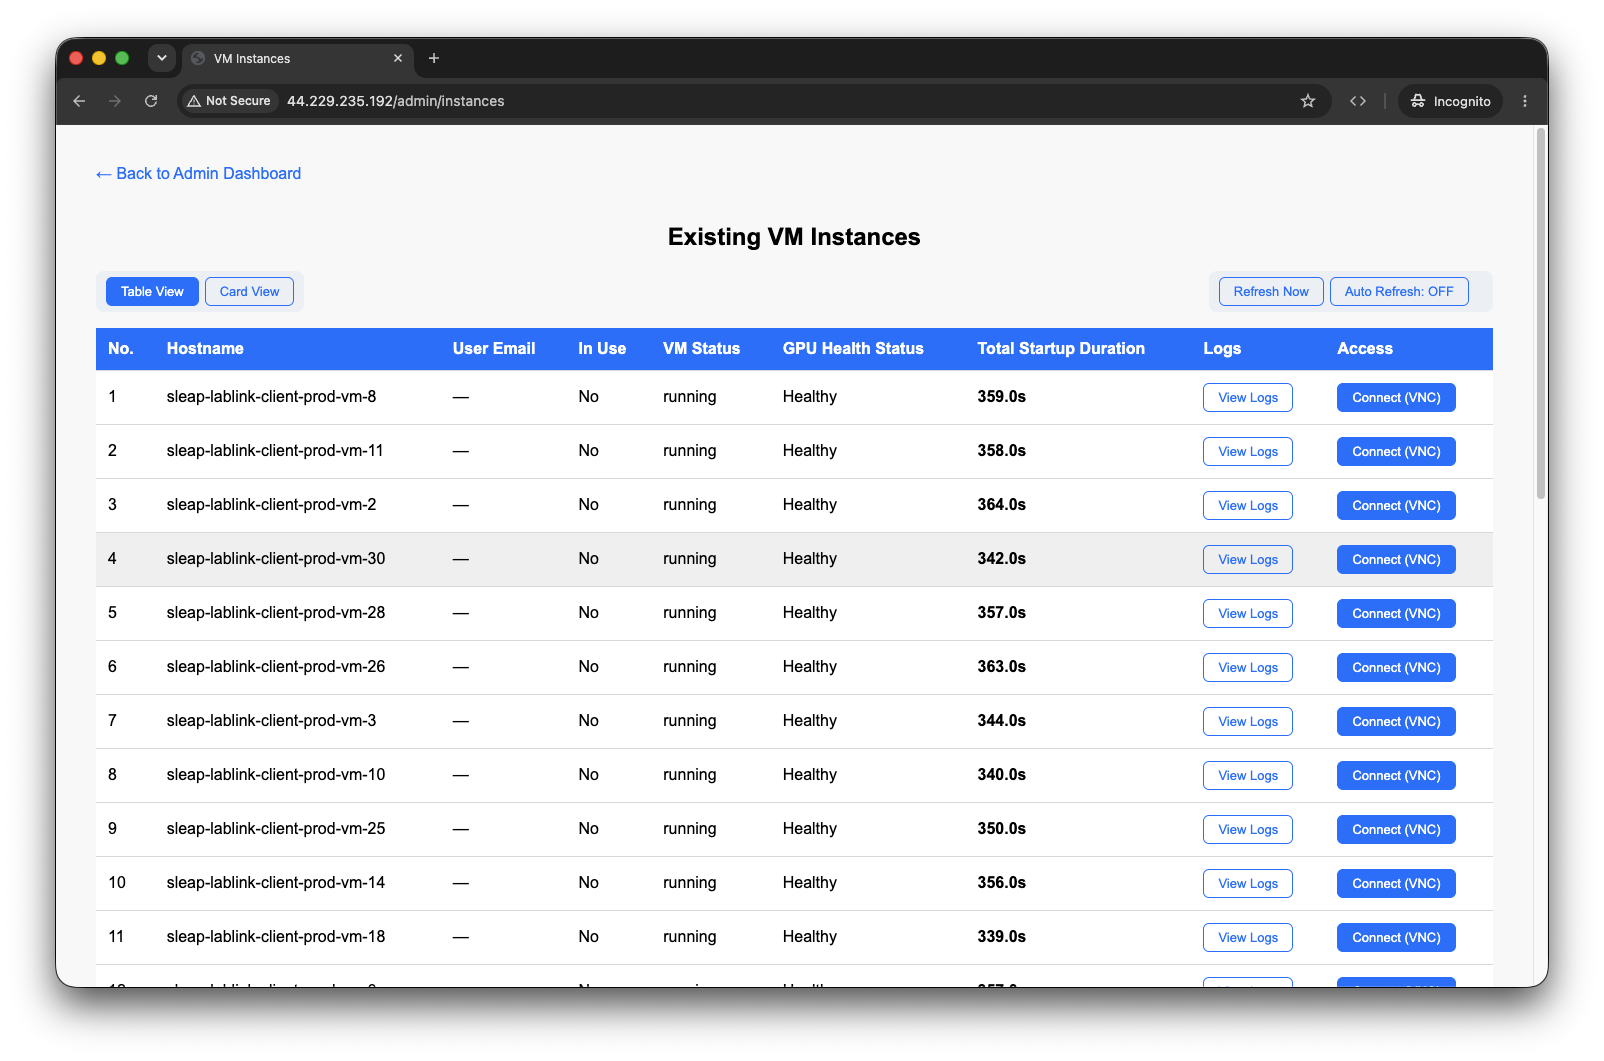
The dashboard shows the following for each VM:
| Column | Description |
|---|---|
| Hostname | VM instance identifier |
| User Email | Email of the participant assigned to the VM |
| In Use | Whether the VM is currently claimed by a participant |
| VM Status | Overall VM status (running, initializing, error, or rebooting) |
| GPU Health Status | GPU availability and CUDA status |
| Total Startup Duration | How long the VM took to become ready |
| Logs | Link to view startup and runtime logs for the VM |
| Access | Per-VM actions such as Peek, Connect, Release, and Clear Unhealthy |
What if a VM is stuck?
The recovery service checks error and unhealthy VMs, initializing VMs stuck for more than 25 minutes, rebooting VMs stuck for more than 10 minutes, and running VMs silent for more than 3 minutes. Check the VM logs for details.
3. (Optional) Schedule Auto-Destruction
If your workshop has a fixed end time, schedule VMs to be automatically destroyed:
- Set the desired destruction date and time in the admin panel
- Confirm the schedule
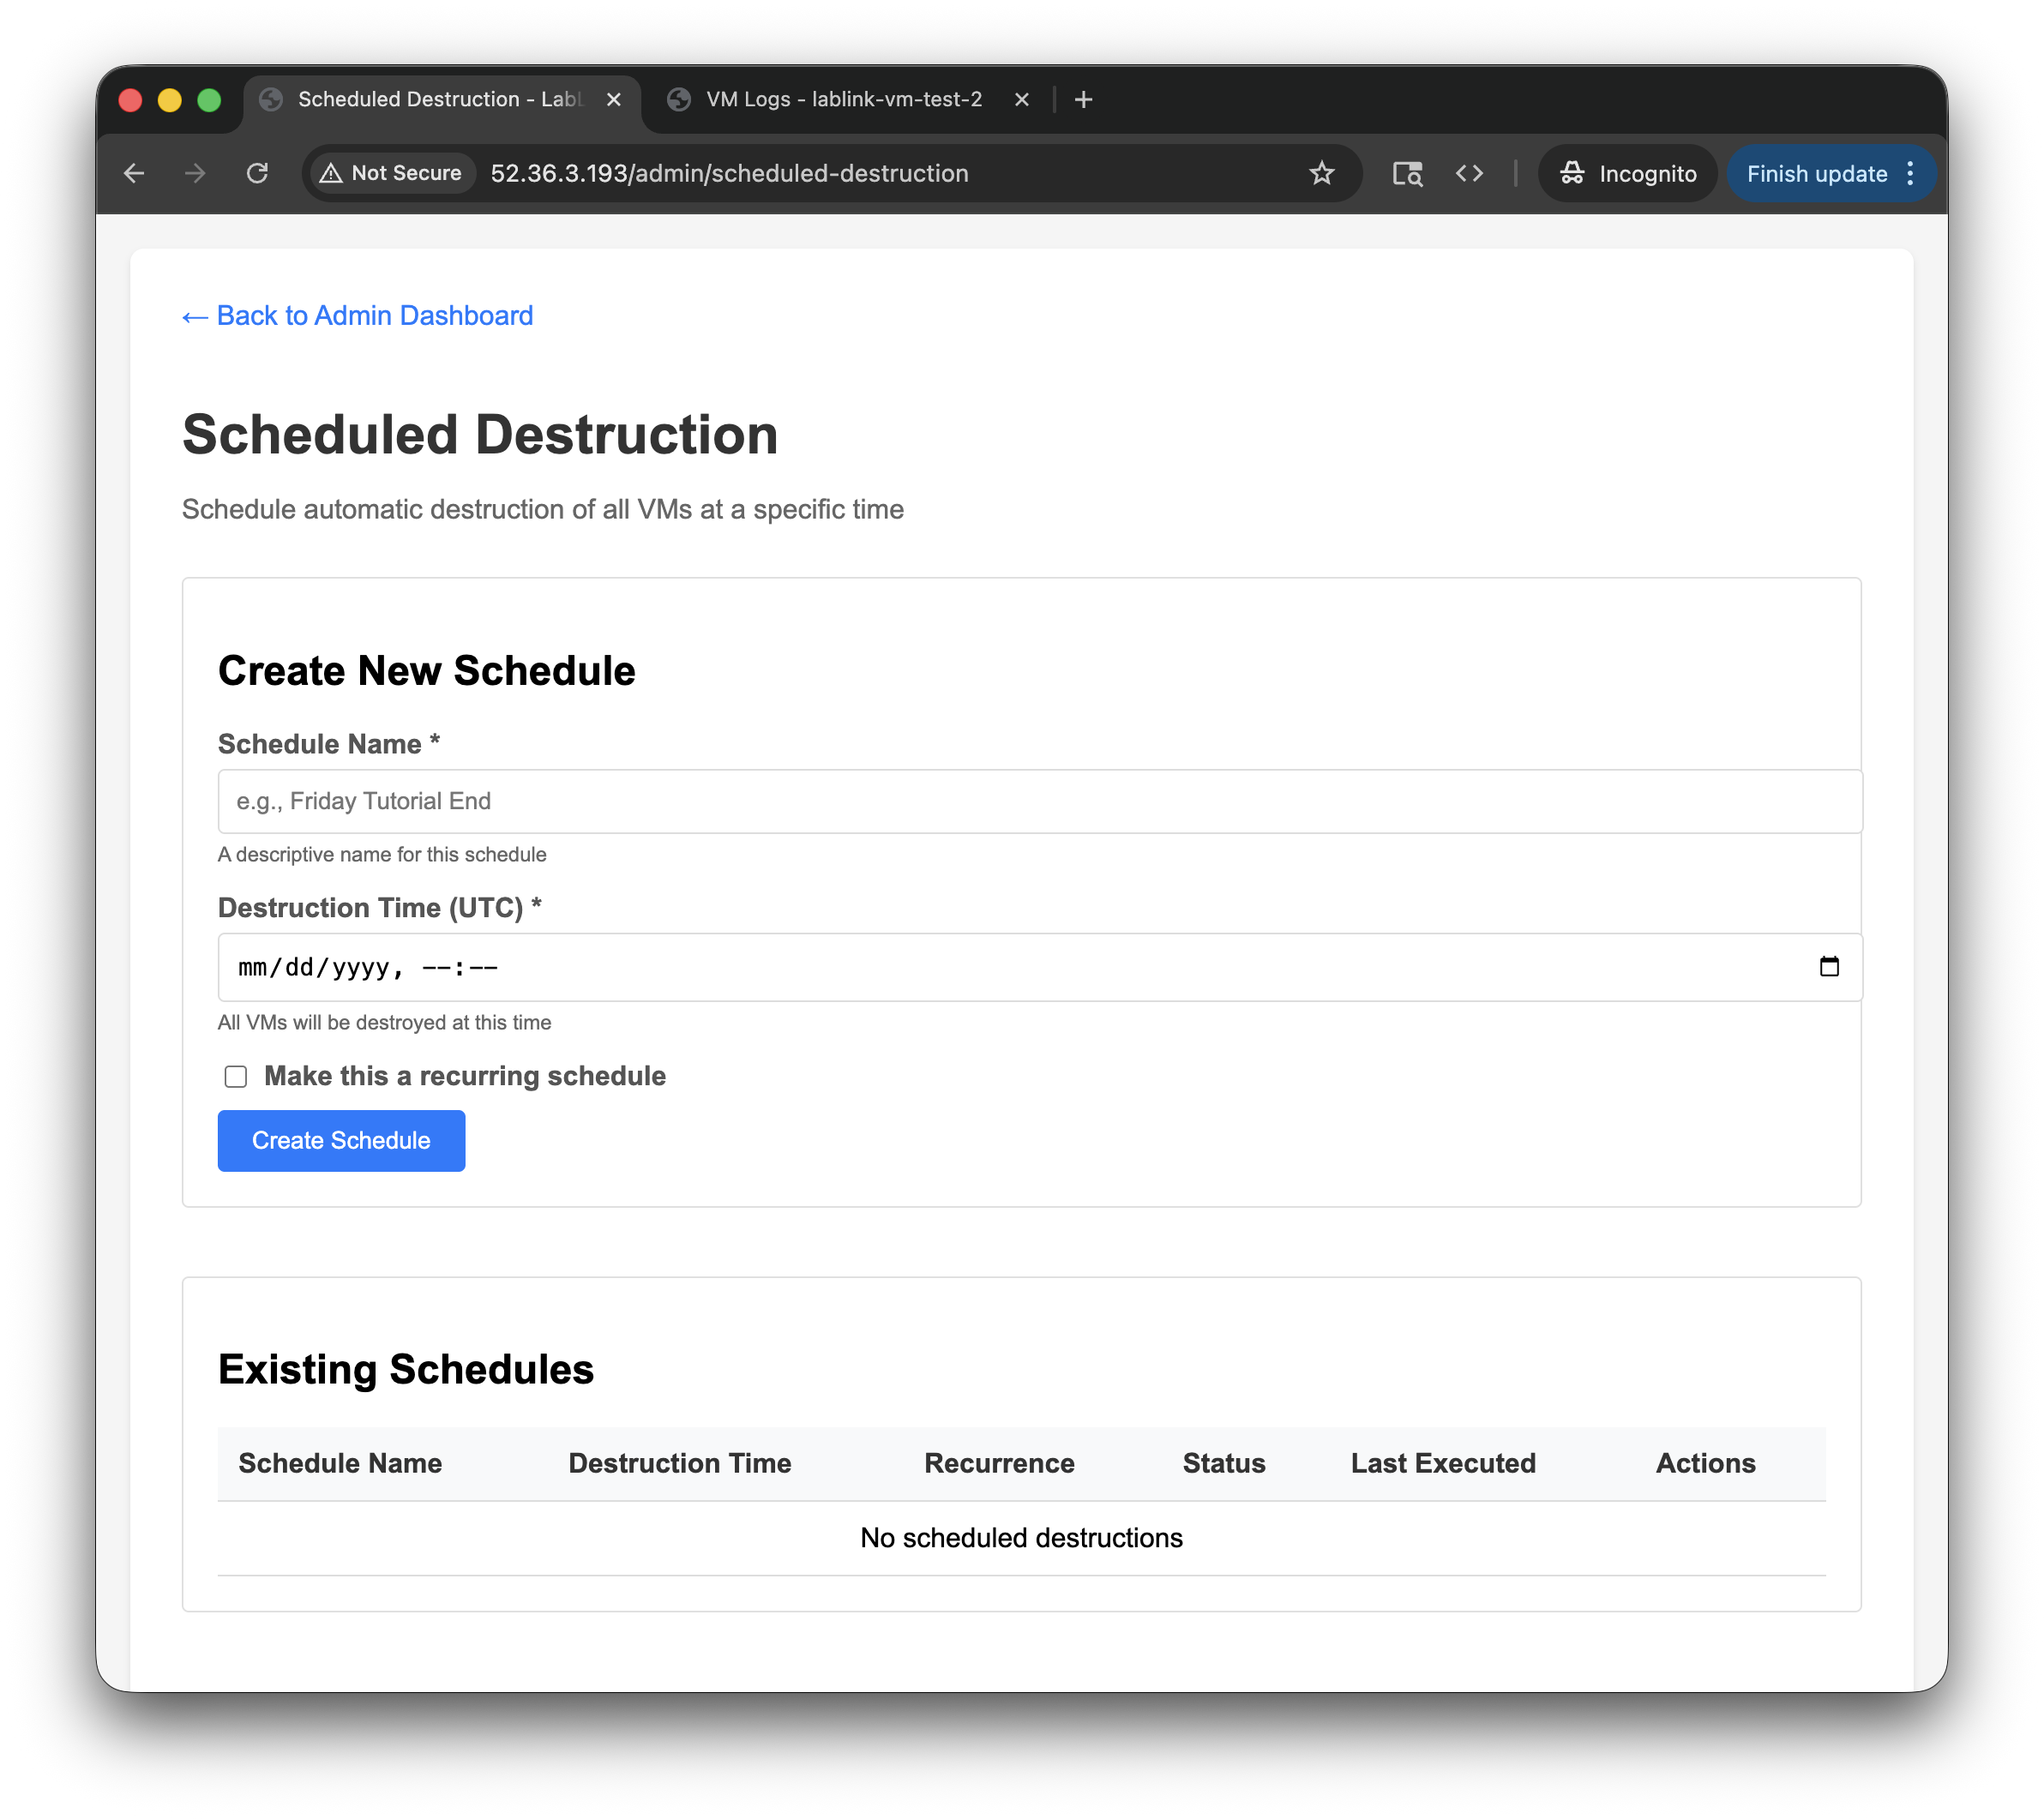
This is useful as a safety net to avoid leaving VMs running (and incurring costs) if you forget to clean up manually.
Share with Participants
What to Share
Give participants the allocator URL:
Or if you configured DNS:
What Participants Do
- Visit the URL in their browser
- Enter their email address
- The allocator assigns them a VM and drops them straight into its desktop
- The desktop opens in the browser tab with your software pre-installed
No installation, no setup -- participants only need a browser.
During the Workshop
Monitor the Dashboard
Keep the admin panel open to track participant activity:
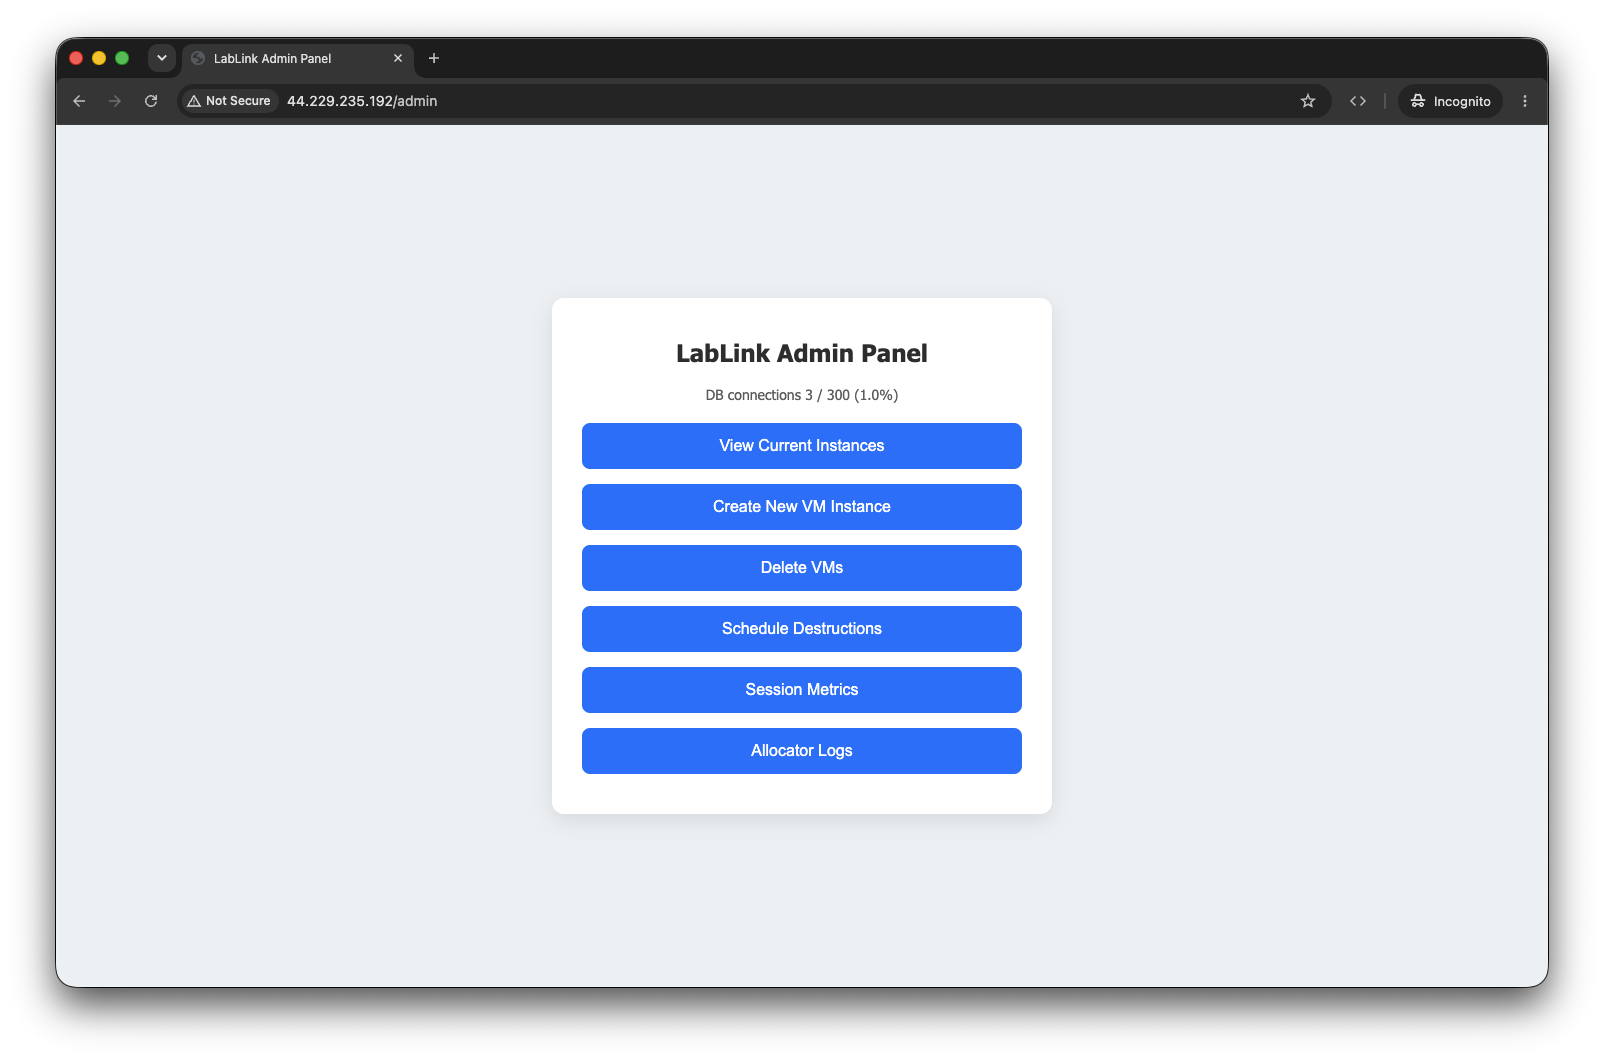
- VM Status column shows if VMs are running normally
- GPU Health Status confirms GPU availability for compute workloads
- In Use shows which VMs have been claimed
- User Email shows who is using each VM
Adding More VMs
If more participants arrive than expected:
- Click Create New VM Instance in the admin panel
- Enter the additional number needed
- Click "Launch VMs"
New VMs are created without affecting existing running VMs. They typically take 5–7 minutes to become ready.
Handling Issues
- VM shows "error": The auto-reboot service will attempt to recover it automatically (up to 3 times). Check the logs link for details.
- Participant can't connect: Verify their VM shows "running" status and that they were assigned one. Try having them reload the allocator page to get a fresh session.
- All VMs assigned: Create additional VMs as described above.
End of Workshop
Destroy VMs
Participant files are not recoverable
LabLink does not collect work off the VMs. Tell participants to download anything they want to keep before the session ends -- destroying a VM destroys its disk.
Tear down all VMs:
- Click Delete VMs in the admin panel
- Click "Run tofu destroy" and confirm
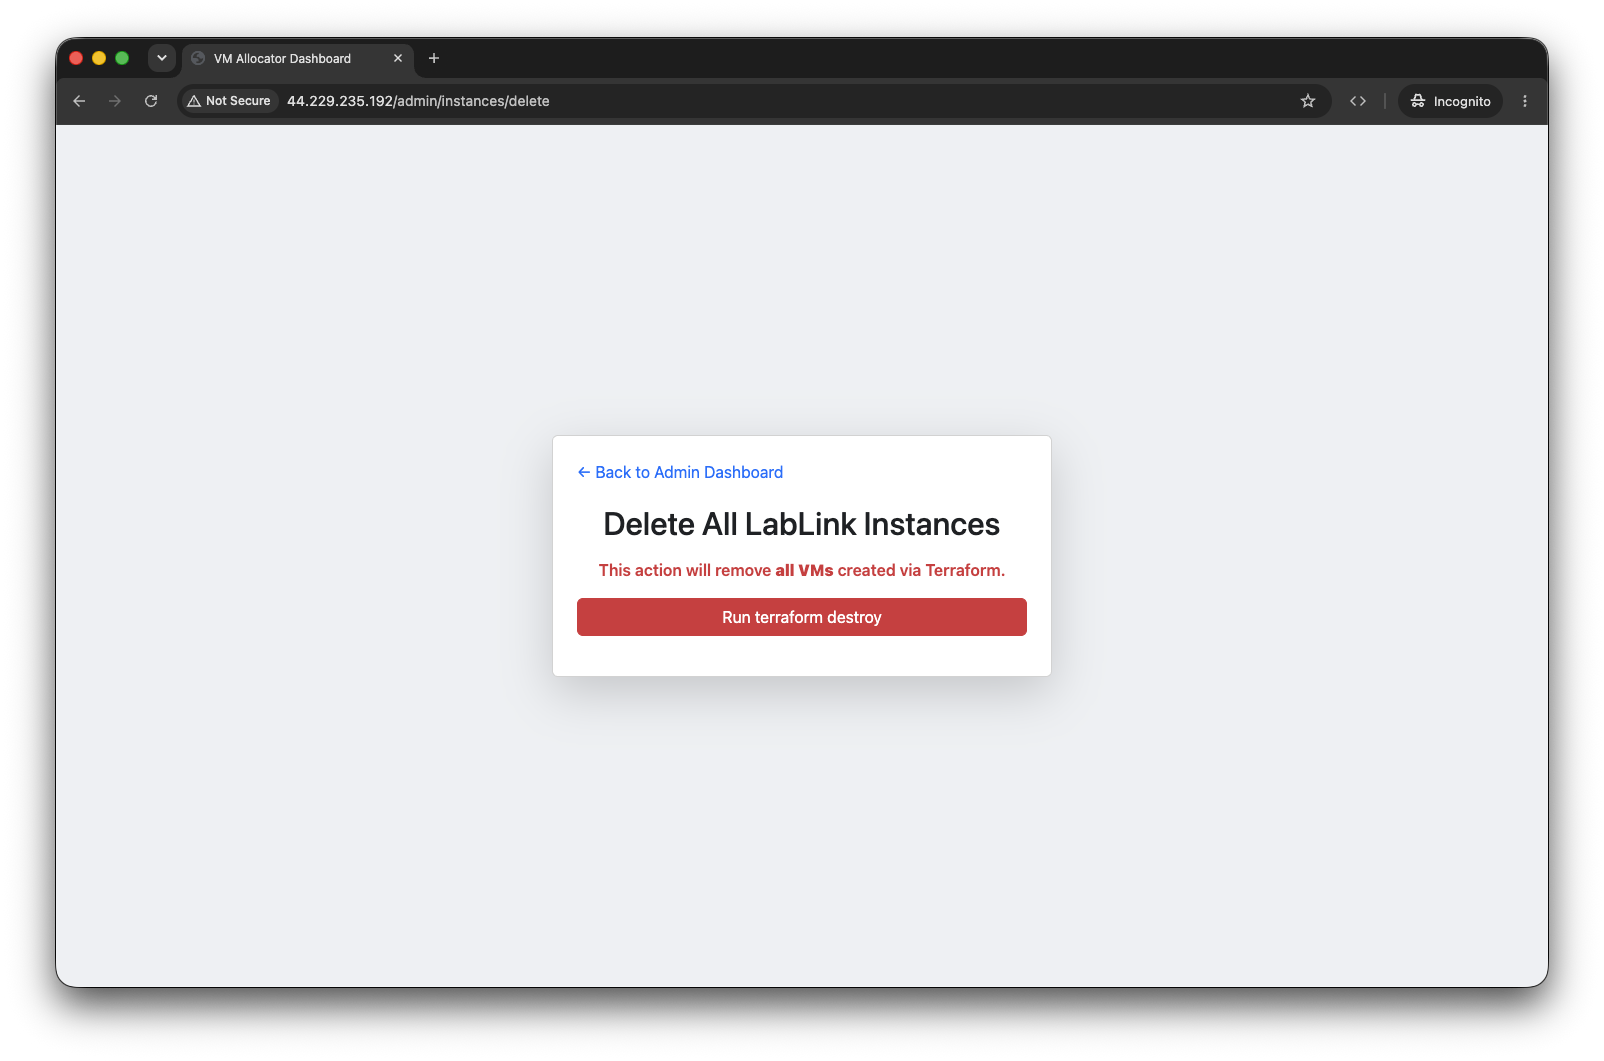
This starts an asynchronous operation that terminates all client EC2 instances and clears VM records from the database. Watch the job banner until it finishes.
After the Workshop
Destroy the Allocator (Optional)
If you don't need LabLink running until your next workshop, destroy the allocator infrastructure to stop incurring costs:
See Deployment for details.
Review Costs
Check Cost Estimation for guidance on reviewing your AWS bill and optimizing costs for future workshops.
Related
- API Endpoints for programmatic access to admin features
- Configuration for admin password and app settings
- Security & Access for authentication details
- Troubleshooting for common issues